First off…I can't believe my blog has reached 200,000 views ! When I started this back in January, I wasn't expecting many people outside my family and friends to view the blog. Luckily, I was wrong - Thank you to all my readers!
Speaking of readers…I've been pretty bad at making posts in recent months. November was such a busy month and December is no better. However, I did have some time to complete a quick little project that I have been meaning to do for almost a year.
When we cleaned out my Grandmother's house over a year ago, I found some pretty cool skeleton keys bunched together on a book ring. I nabbed those quickly and knew exactly what I wanted to do with them - place them in a shadow box! Last weekend, I popped over to IKEA with my neighbor and purchased a white one (among lots of other things…don't tell Kerry!)

I dug through my endless supply of scrapbook paper and found just the perfect paper for the background of the shadow box. I grabbed some brown thread to match the keys and and my trusty scissors and went to work.
First, I placed the scrapbook paper behind the frame and also added some card stock to support the keys. I arranged the keys…several times…until I found the design I liked. This was my first layout, but I changed it up in the end.

A little helpful hint: Place some cork behind the matte to make it easier to push through the paper. Using the needle, I made little holes around the tops and bottoms of each key. This helped me to remember exactly where I wanted each key to be placed.

Some people hot glue the keys, but I decided to go the thread route instead. I took all the keys off and using the holes I just made, I sewed each key, one by one. I started from underneath the paper and sewed up and around the top, then pulled the thread down to tighten it, taped it, then sewed the bottom part of the key. I didn't make a knot because I felt that might loosen the thread. I just used a lot of scotch tape to secure it. Repeat for each key.

You can barely see the thread…even close up ! I attached the matte to the frame and jiggled it around a bit and they were pretty secure on the paper.
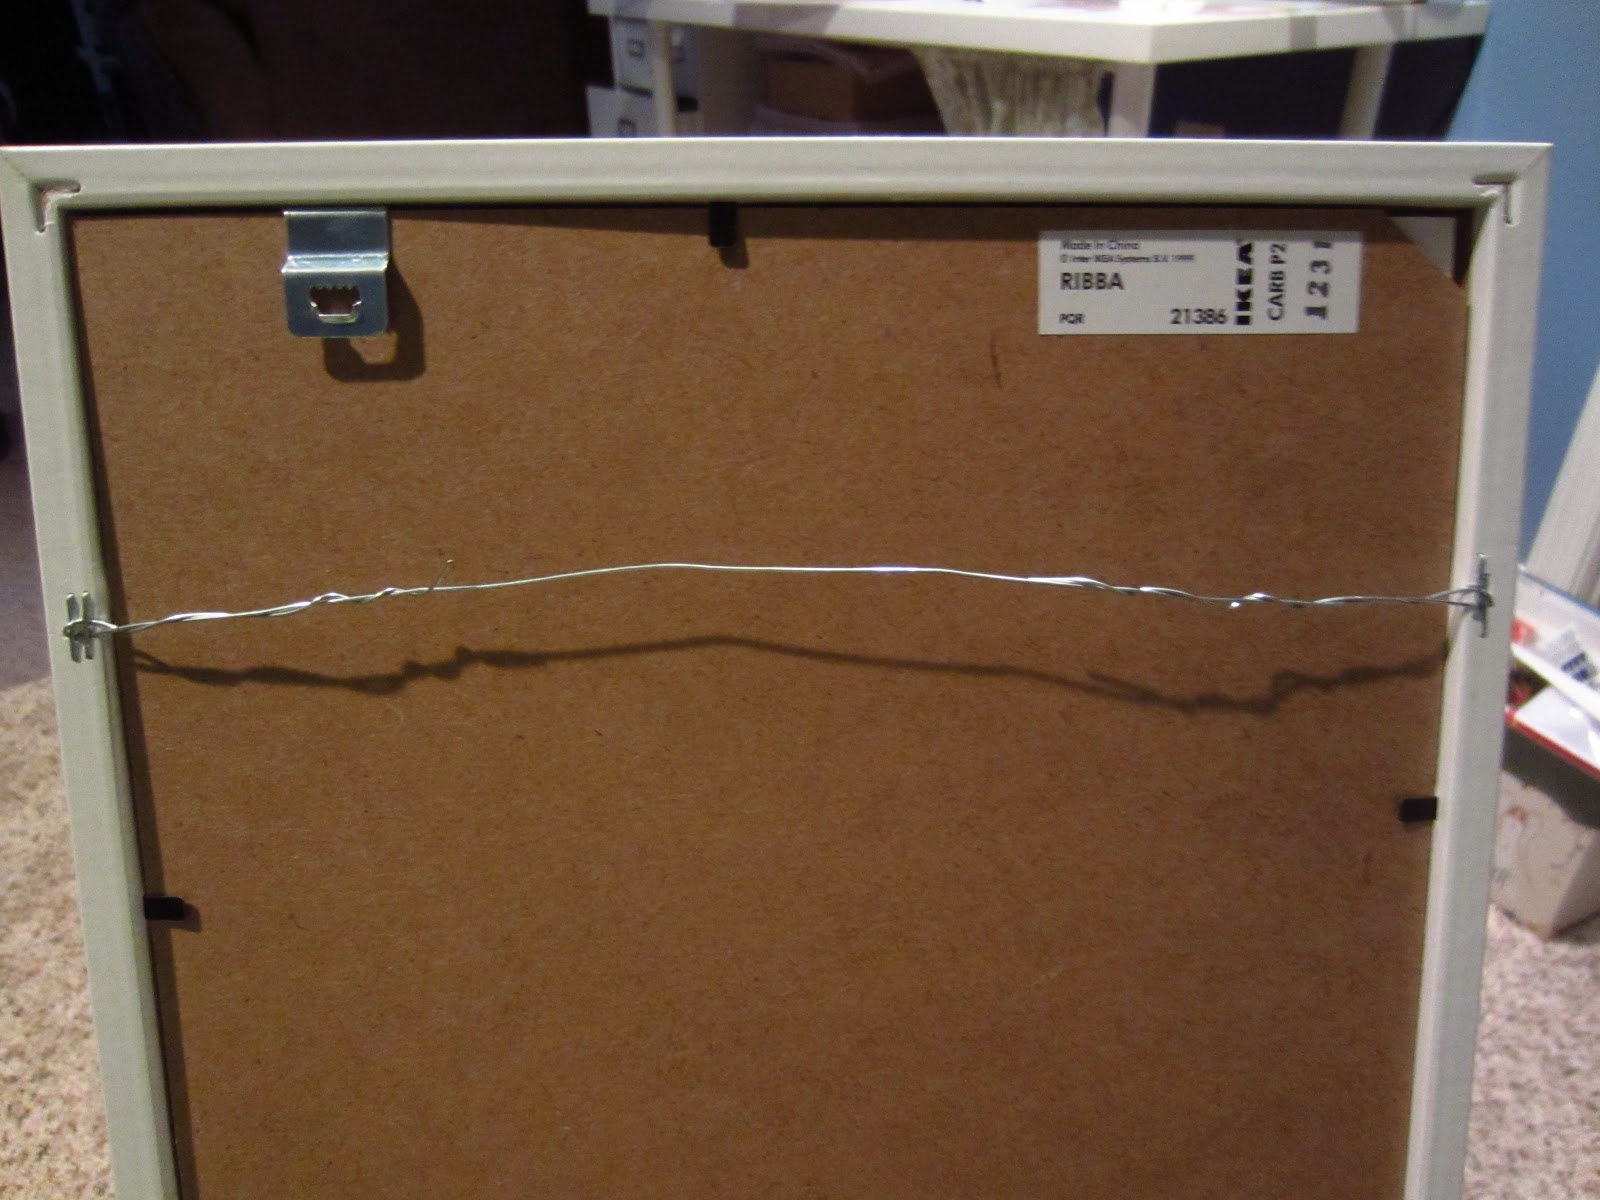
Then I added some wire on the back of the frame so that I could hang it up (more on that here).

I hung it up in our stairwell hallway upstairs near the bedrooms with the other white frames. This wall continues to be a work in progress as I find fun things to frame (like the caricature we had made at Kerry's company picnic last summer. If you look closely, the bear is photobombing our camp fire shot).

This was pretty quick and easy and it adds a little more character to our "white frame wall."
What have you framed lately? Heirlooms? Kids' artwork?
Now you can Do It Yourself Too !
~Stephanie
Speaking of readers…I've been pretty bad at making posts in recent months. November was such a busy month and December is no better. However, I did have some time to complete a quick little project that I have been meaning to do for almost a year.
When we cleaned out my Grandmother's house over a year ago, I found some pretty cool skeleton keys bunched together on a book ring. I nabbed those quickly and knew exactly what I wanted to do with them - place them in a shadow box! Last weekend, I popped over to IKEA with my neighbor and purchased a white one (among lots of other things…don't tell Kerry!)

I dug through my endless supply of scrapbook paper and found just the perfect paper for the background of the shadow box. I grabbed some brown thread to match the keys and and my trusty scissors and went to work.
First, I placed the scrapbook paper behind the frame and also added some card stock to support the keys. I arranged the keys…several times…until I found the design I liked. This was my first layout, but I changed it up in the end.

A little helpful hint: Place some cork behind the matte to make it easier to push through the paper. Using the needle, I made little holes around the tops and bottoms of each key. This helped me to remember exactly where I wanted each key to be placed.

Some people hot glue the keys, but I decided to go the thread route instead. I took all the keys off and using the holes I just made, I sewed each key, one by one. I started from underneath the paper and sewed up and around the top, then pulled the thread down to tighten it, taped it, then sewed the bottom part of the key. I didn't make a knot because I felt that might loosen the thread. I just used a lot of scotch tape to secure it. Repeat for each key.

You can barely see the thread…even close up ! I attached the matte to the frame and jiggled it around a bit and they were pretty secure on the paper.
Then I added some wire on the back of the frame so that I could hang it up (more on that here).
I hung it up in our stairwell hallway upstairs near the bedrooms with the other white frames. This wall continues to be a work in progress as I find fun things to frame (like the caricature we had made at Kerry's company picnic last summer. If you look closely, the bear is photobombing our camp fire shot).

This was pretty quick and easy and it adds a little more character to our "white frame wall."
What have you framed lately? Heirlooms? Kids' artwork?
Now you can Do It Yourself Too !
~Stephanie
This is a great way to do soemthing with those things you save, but usually don't get to appreciate because they are sitting in a dark drawer. It has real personal character--just like those framed spices you did a while ago. I just wish all my "old" keys weren't so new!
ReplyDelete